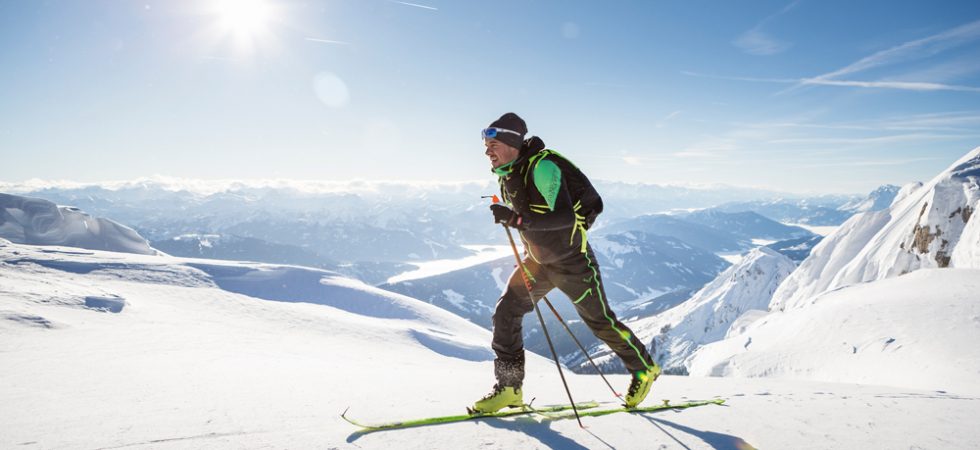
A good ski touring track must be both efficient and safe. Follow our advice to evolve serenely in the mountains.
In ski touring, you are outside the signposting of the resort. There are no more signs to indicate the right direction, nor easy-to-follow marked trails and even the usual summer landmarks seem difficult to find.
If the majority of the known winter mountain routes are traced in all weathers, even at night, one should not blindly follow the existing tracks. Sometimes, there is simply no track! How to make a good ski touring track, saving energy, and managing the danger of avalanches?
How to recognize a good ski touring track?
A good ski touring track is recognized first by its safety level, and then by its efficiency.
A safe track must take into account the multiple dangers of the mountain, that is to say :
- The objective dangers (avalanches, rock falls or seracs mainly)
- Risks inherent to the skier’s behavior (falling into a crevasse or over a rocky bar, hitting an obstacle such as a tree or a rock, or colliding with another skier after an uncontrolled slide, etc.).
The person who makes the trail, the first in his group, must therefore choose reasonable slopes according to the snow conditions.
He must always have one eye on the slopes above and the other on those below, in order to avoid exposure to these two types of risks, or at least to reduce them as much as possible.
How to make a regular and efficient trail when ski touring?
The shortest way from the parking lot to the summit is not a straight line in ski touring but a broken line made of zig zags, which are linked by conversions.
The track must therefore be regular, with a reasonable slope, that is to say, neither too steep nor too flat.
By avoiding the “buttocks” and other jolts, especially during the conversions, the tracer must propose a constant effort in endurance throughout the climb.
He/she should sufficiently solicit the cardio-respiratory system, but without increasing the muscular intensity too much, in order to keep the physical strength for the descent.
The other trap that awaits the neophyte is that of the asymmetrical track, with the right-hand sides flatter than the left-hand sides, or vice versa.
One leg is then more tired than the other, without any valid reason (except in special cases of course, such as avoiding an obstacle, a worrying area, etc.).
Obviously, a flatter track is less efficient in absolute terms, but it saves the participants who are not trained or who are beginners.
Conversely, in big powder conditions, some skiers prefer a shorter, steeper track that minimizes the distance covered because in this case, it is the depth of loose snow to be shoveled that is the main factor. So in this case, we might as well reduce the kilometers…
To make its trace by managing the risk of avalanche
The tracker must keep in mind that any slope greater than 30° of inclination is a potential danger, obviously if the group is evolving on such a zone, but also if these steep slopes overhang the track. A remote trigger cannot be underestimated.
To prepare your route and manage the risk of avalanche, you can use two new tools recently put online, Yeti and Skitourenguru.ch, which we present in this article.
In the field, having an inclinometer on your pole allows you to know if the slope is leaning dangerously or not. If you have to be wary of all slopes above 30°, the danger of avalanche is much more important between 35 and 45°, before becoming slightly less risky again since very steep slopes tend to purge more easily by themselves thanks to the work of gravity.
One always chooses the line of weakness to make its trace in rando, by privileging the plateaus, the edges, and all the zones where the slopes are less exposed.
This seems obvious, but it is classic to see the opposite when the wind has peeled the normal route. Rather than putting the skis on their backs, some prefer to go through another slope that is still snowy and steeper, which is dangerous for two main reasons: steeper, but also because it has been subjected to snow transport that generates slab avalanches.
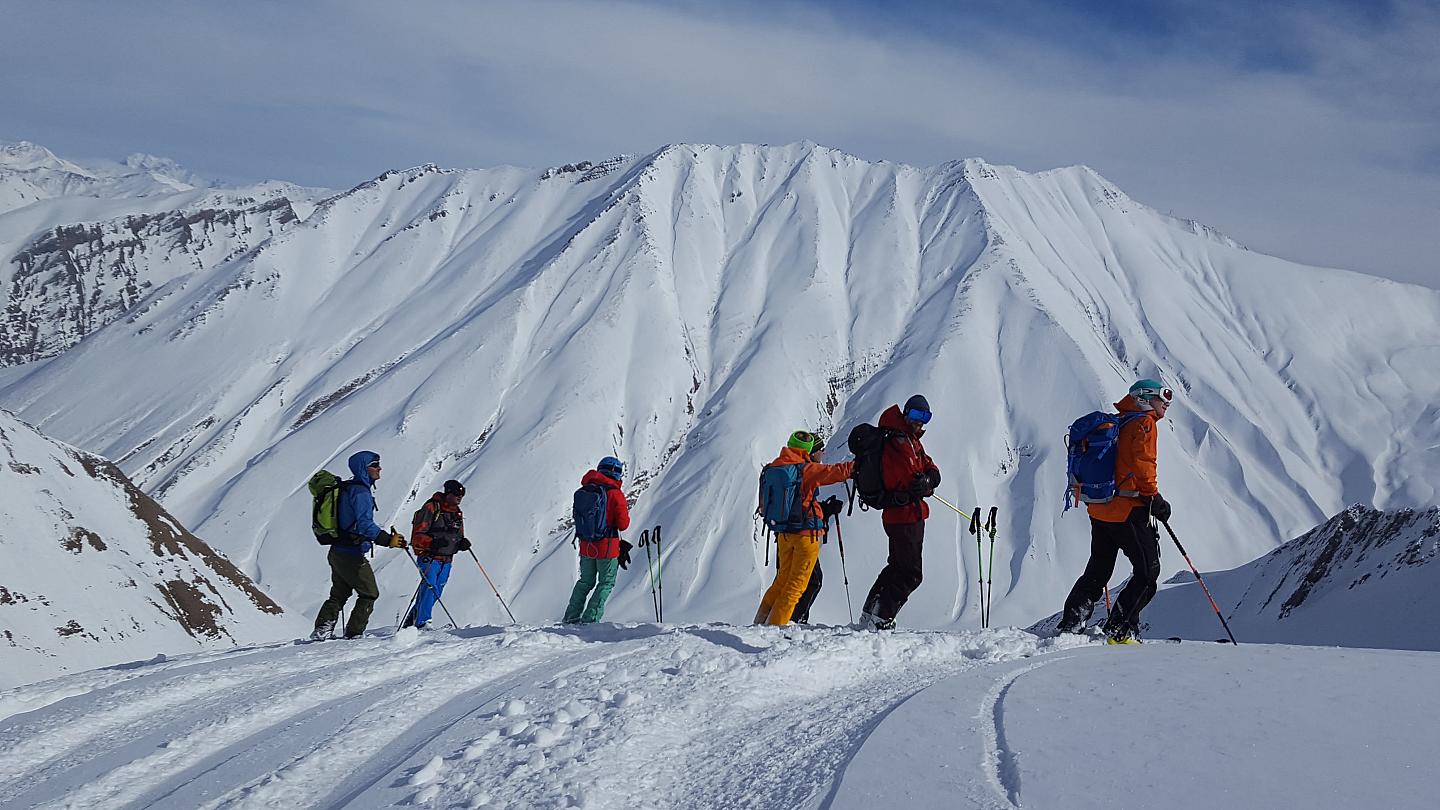
The importance of keeping a safe distance on certain slopes
Keeping your distance is much more restrictive on the way up than on the way down. Imagine: in a zone with potentially 300 meters of vertical drop, you have to leave one by one, waiting for the first one to be at the top before sending the next one! This is frustrating on the way down but almost impossible to respect on the way up!
Hence the need to make an “intelligent” track, which takes into account this parameter and allows space less than one hour…
In any case, leaving a few tens of meters of difference on a slope which can potentially leave does not solve anything, it is moreover often the report which was made on the most serious fatal accidents in ski touring.
The impact of the equipment on the track
The equipment can impose changes of tracks. First, if your skis are much wider than the existing track, you will have no choice but to make your own.
Depending on the conditions, this can be a real energy expense. In another case, depending on the conditions, if you don’t have crampons or knives, you will take risks either by going into an icy sector without being armed (once you start sliding, it’s difficult to get the edges to bite in the walking position…), or by choosing a snowy but potentially dangerous slope In other words, on a long hike, you have to leave equipped to face any si