How to fold a tent? As you may know, setting up a campfire is quite simple; but, folding the tent after use can be precarious. Abhorrently collapsed outside the tent is the most-cherished reproducing field for molds.
Also, a severely pressed outside the tent can make wrinkles which may achieve outrageous harm to the material utilized in making the tent.
Whenever you have dumped a tent, it is difficult to get everything back in its rucksack.
Therefore, learning how to fold up tent is crucial to have a great camping trip. You need to realize the legitimate approaches to fold the tent. So that it can go into its sack effectively absent a lot of pressure.
Here are our step-by-step guides and tips to fold out three kinds of tents.
How To Fold A Tent?
There are many sorts of tents. But, in this article, we will attempt to analyze a few hints on the most capable approach to stash some of them taking into account the most oftentimes used ones. Here is the way we fold the tent:
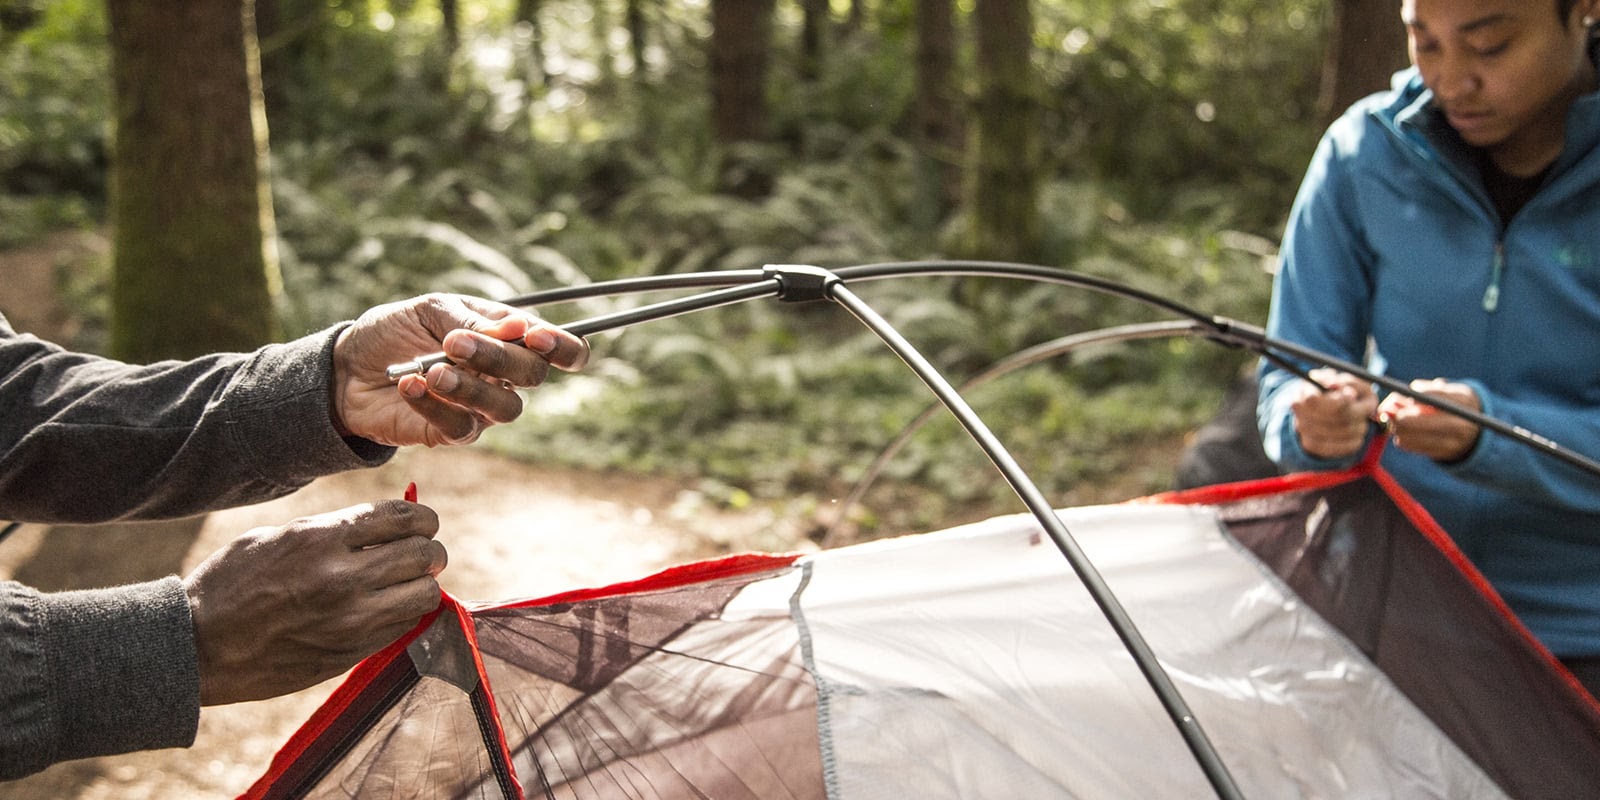
Fold Up A Camping Tent (Backpack Tent)
Step 1: Clean The Tent

Before you start to fold the tent, you should empty everything in your tent and afterward use a saturated fabric to wipe the inward pieces of the tent.
You should ensure that you remove all the food pieces, trash, and your stuff like a sleeping bag on the tent floor that can cause parasites to grow. When you have wrapped up washing the interior pieces of the canvas, you should clear out the external too.
You let your tent dry before packing it. Attempt not to roll up tent when it is still damp and moist. Remember that sodden places are most-adored imitating fields of parasites. Therefore, you should guarantee that your tent is waterproof then you can fold up.
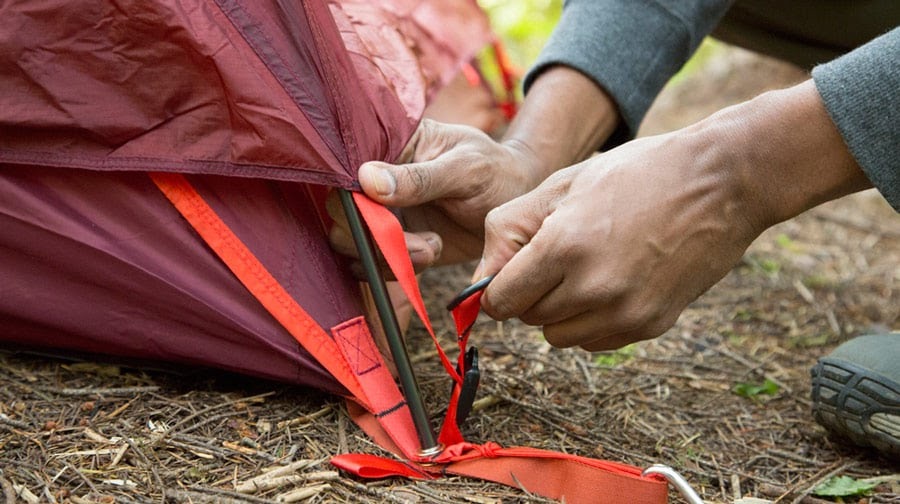
Step 2: Take Off The Tent Poles And Stakes
When your tent looks clean and waterproof, you should remove the tent poles or tent stakes that endure the tent to the ground. Place the tent poles and pales in a small tent pole bag. The pole bag has to be clean and dry. You should keep them in a separate bag too.
You can also bundle these tent poles along with a touch of small tape or string and keep them in your tent bag.
Try not to keep your clips and pales inside the pole bag keeping your tent stay remain on the ground. Remember that they are sharpened apparatuses so that they can cause cracks in the tent.
Step 3: Take Off The Tent Shafts.
You can remove the shafts easily by pulling them out from the canvas’s gatherings. Then, you have to cover them accurately.
On the off chance that the shafts of your canvas are partitioned or have unmistakable sections that coordinate with one another to create lengthy posts, you should empty the fitted regions and save them in the post pocket.
Step 4: Shake Your Tent

In the wake of removing the tent shafts, you should now hold your particular tent and shake it to empty each flotsam and jetsam adhering to it.
Step 5: Flatten Your Tent
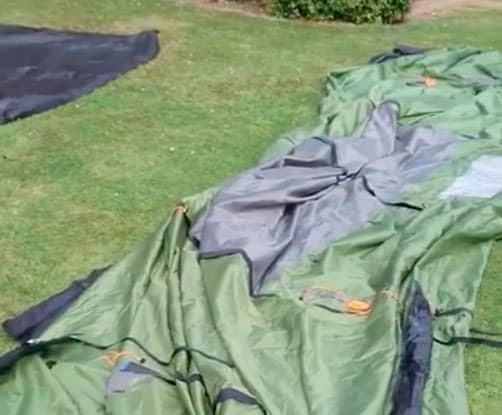
Spot your tent flat on the campsite and pull it when it concocts level. Examine the bottom surface of the canvas and guarantee that it is waterproof.
On the off chance that the foundation of the tent flat is as yet soaked, use waterproof cotton to clean all the soddenness; then, at that point, let your tent dry for a few minutes.
Step 6: Roll Up And Store Your Tent
When you attempt to pack a tent, elevate the outside piece of your tent approaching the middle, guaranteeing that the canvas overlaps in line with one another. You extend the tent longspun.
When folding a tent, you should guarantee that the doorway stays on top of the cross-over. Resulting in collapsing the canvas longspun, ensure you hit the collapsed canvas part to release the airflow caught in it.
Step 7: Store Your Camping Tent
Resulting in releasing the airflow caught in your tent, cautiously circle the canvas starting from the end very a long way from the entrance and afterward stir up your design.
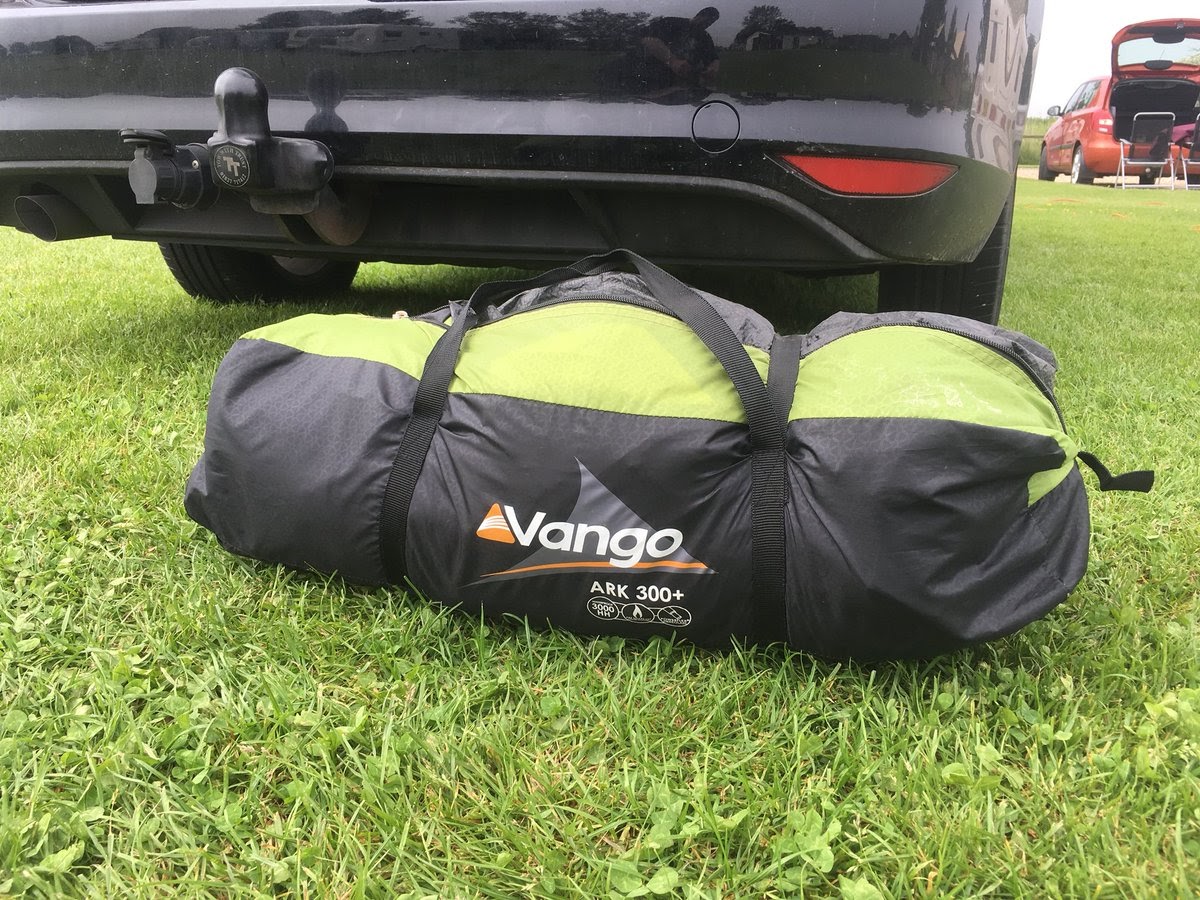
From that point onward, fasten your tent moved up with string. And afterward, place your already folded tent in a tent bag.
Fold Up A Cabin Tent
Cabin canvas, for the most part, comes in numerous forms and measurements. The customary cabin tents use hefty material and poles to make a sweeping front room.
The conventional canvases have only one enormous space with a standing vacancy and the decision for a steaming oven. Most of the current-day forms have a couple of vacancies, cloth, and folding canvas shafts.
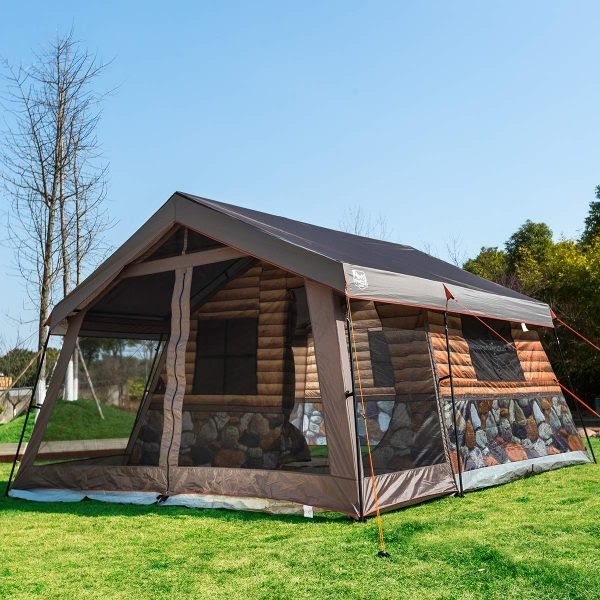
The conventional cabin tents are intended to withstand breezes, snowfall, and dampness. The advanced frameworks are considerably lightweight. It is practically manageable to pack a lodge canvas. The issue currently is arranging a canvas and matching it into the package.
A lodge tent is generously more noteworthy contrasted with the items. The limit sack that goes with the canvases is planned to be space capable, and it will be an uncommonly comfortable fit.
There isn’t any space for bumbles when folding a tent. Here are the means to follow when collapsing or stashing a lodge tent:
Step 1: Clean The Tent
Remember to clean the interior and outer stuff of the lodge canvas with a washing fabric before you start folding a tent to discard any dampness or soil.
Step 2: Tent Poles And Stakes Remove
Like folding the camping tent, you have to remove the stakes and tent poles and store them in the pole bag before folding it. The pole bag has to be clean and dry.
Step 3: Tent Flat
In this stage, you should lay flat your tent on the ground to frame a shape. The shape is depending upon the cabin tent’s characteristics.
Step 4: Half Folding Your Tent
You fold out the lodge canvas in half and conceal any grouping with the goal that your canvas can place flattening on the spot.
Step 5: Half Folding Your Tent Again
You close your canvas in a comparative head into the half again with the same width to frame a square shape. Conceal any creases and knocks as many as could be anticipated.
Step 6: Check Store Sack’s Length
You should check the length of your cabin tent’s stockpiling bag.
The expansiveness of your all-around collapsed tent should be less in measurement than the capacity sack’s length.
If it doesn’t work, you should overlap your cabin tent repeatedly with a comparative way to make it smaller.
Step 7: Store Your Folded Tent
Starting at the flimsy end of your cabin tent, you should solidly foldout tent and place it in the stockpiling bag; and there’s nothing more to it!
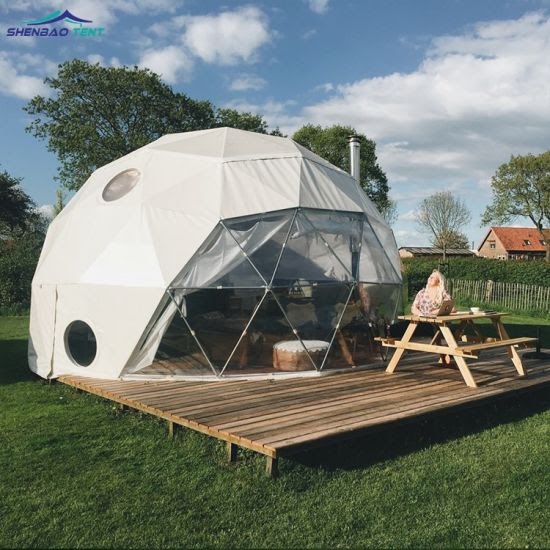
Fold Up A Dome Tent
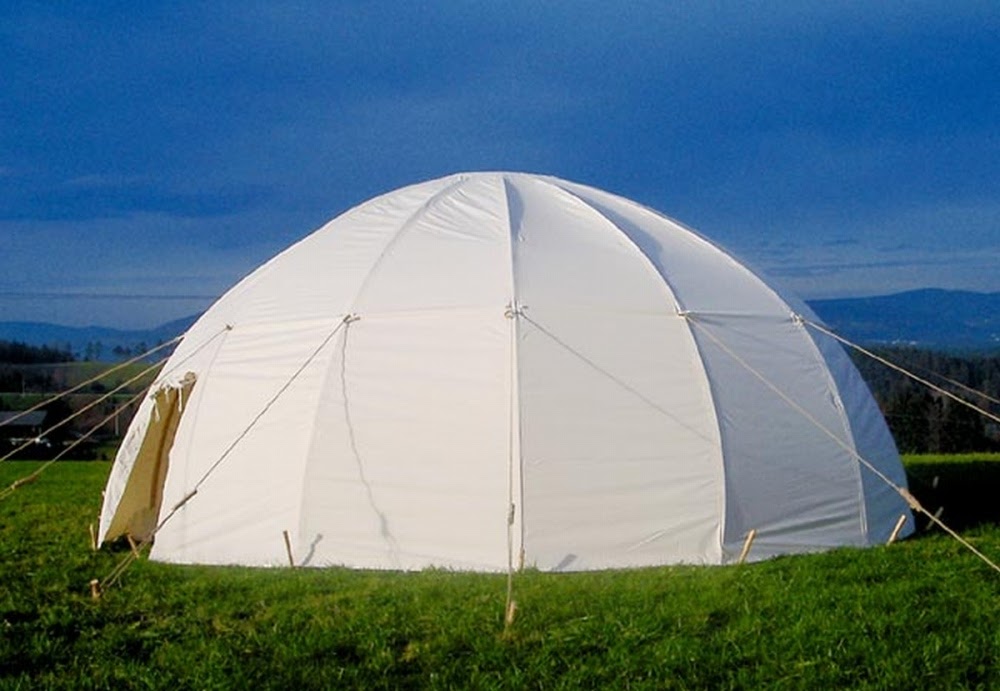
Traveling outside with loved ones in the woodlands, on the shoreline, or in your garden are incredible approaches to see the value of camping trips.
Although packing a tent with the dome is very straightforward, you should sort out ways to make each overlay and the best way to stock them after the collapsing interaction.
Also, similarly as with the equivalent with texture, adhere to the maker’s bearings. Here are the means to follow when folding tent:
Step 1: Prepare To Fold The Covering Sheet
Firstly, you should remove all the poles and keep them in a tent pole bag. The pole bag has to be clean and dry. Start the cycle by emptying the shafts and a while later cross-over it the longwise. The fundamental purpose for this is to empower the strings on the covering sheet to twist up collapsed internally.
You should overlay all the covering sheet’s enclosures; in this manner, making them compatible and collapsing them internally through the center as much as could sensibly be anticipated.
After you have closed the cycle, crease it over once more. And afterward, cautiously and immovably hold up the covering sheet and a while later fasten it.
Step 2: Fold The Covering Sheet
Begin with the top piece of the covering sheet, especially the most moderate section, which is perhaps at the same time the region that is in the centerpiece of the housetop.
You should fold out the covering sheet well and then fasten it. The more firmly the covering sheet is rotated, the limited requesting it will be unquestionably to place it inside the knapsack.
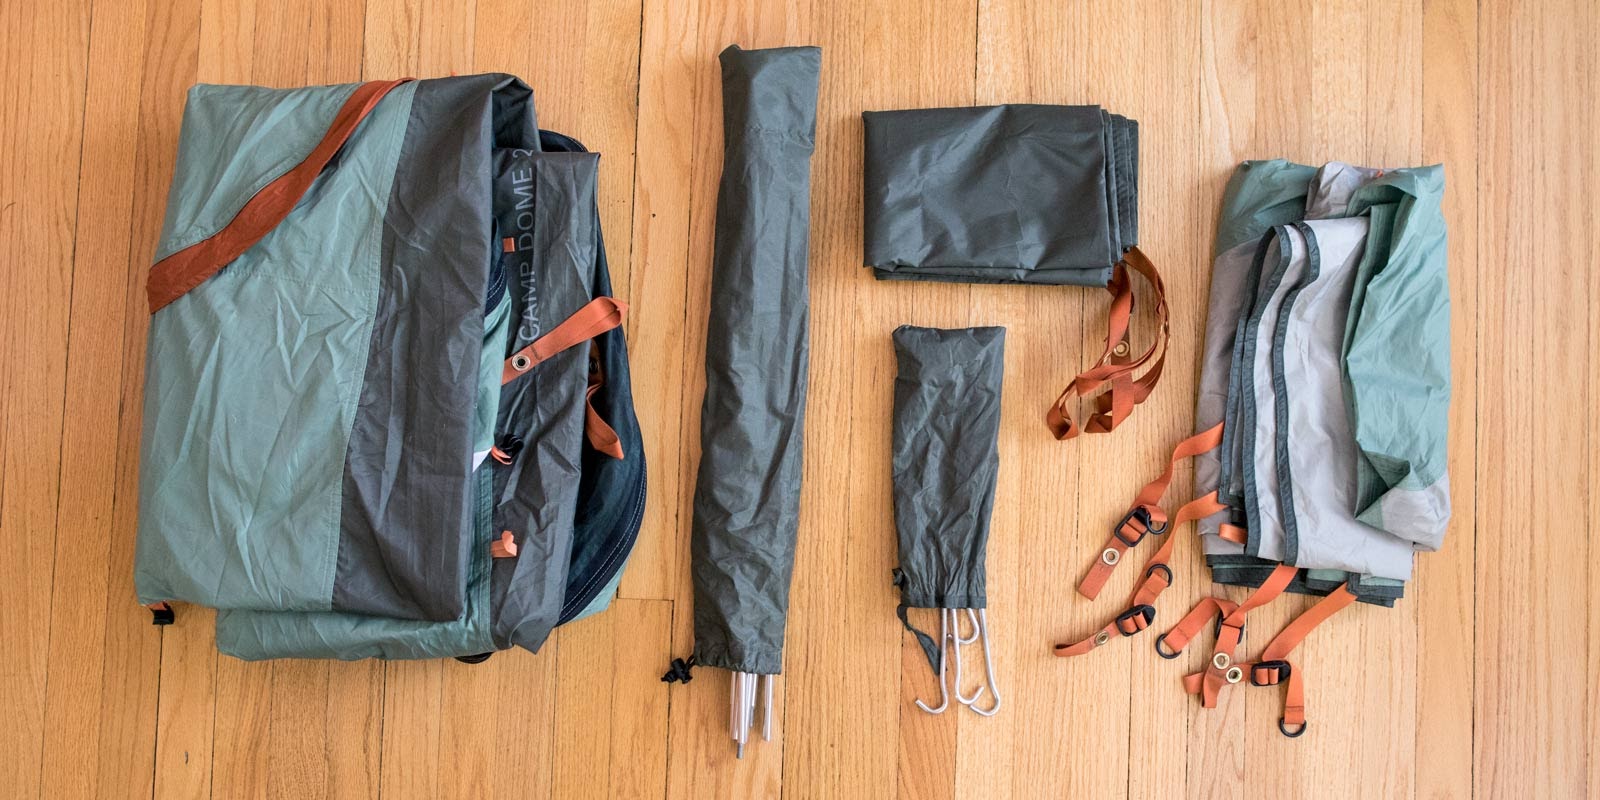
Step 3: Packing The Main Tent
Start by spreading out the main tent similar to the way you set it up. Guarantee that every one of the zippers is closed, for the entryway and the windowpanes and some other zippers that can likewise be there.
Step 4: Set The Roof Portion
Utilize within housetop mounts, for instance, cylinders and clasps for the help bars. To hold the shade back from being unnecessarily packaged up, attract the shade request to endure level.
You should give cautious thought to the entrance, and guarantee that it is smooth. There will be excess stock, but you essentially need to place it on the back doorway bundle.
If your dome tent doesn’t come with the entryway, you will be operating in an indirect subject, representing the side immovably and ending up with the anterior border. It will doubtlessly help in case your canvas is protected when you are doing this process.
Step 5: Roll Up The Vestibule.
On the off chance that your dome tent doesn’t feature a vestibule, you can neglect this interaction and proceed with the following.
Crease the tent doors with the end goal to place over the canvas’s main part, guaranteeing that the highest portion will place on the top of your dome tent.
Step 6: Fold The Tent
You properly fold each side of your tent. Afterward, crease it down the middle again with the goal for you to end up with the genuine measurement of your rolled tent. You should tent tightly the tent folds and tent pegs.
Step 7: Store Your Tent In The Tent Bag
After following those steps, the last thing you need to do is storing your folded tent in a tent bag.
The Right Way To Store After Folding A Tent
Now, you need to know the right way to store it after you fold the tent. Before putting away your tent in the wake of rolling up it, there are a couple of ways to deal with taking to guarantee that you get the most consequently.
Guarantee that you open your canvas and cautiously clean it. It seems like an unsettling influence when you’re depleted and worn out after an open-air journey.
However, when you stock a grimy canvas, moisture and fungus may get in, achieving threatening aromas; and this will, in general, demolish it forever.
When you realize that your canvas was on a moist camping area, let it dehydrated. When it is unthinkable for you to do that, you should eliminate it from the package when you get back home and let it dry for a few minutes.
Guarantee that you don’t leave your canvas alongside a flame area as it can obliterate the metal and, in all probability, caused your tent to burn.

Furthermore, leaving your tent in direct sunlight can cause infliction. Find a cool, dull spot to place your canvas as it will assist you with avoiding saturated and molder in your tent.
Unfold your tent fair and square ground as holding it on can cause the posts to enter the meager plastic utilized in producing the canvas.
As determined above, before putting away your canvas, it should be circulated and waterproof. When you store the wet tent, soggy and mildew will increase in the tent, leaving it with an awful stench. The mildew can also annihilate the watertight cover of the tent.
In the wake of collapsing and pressing, you should secure your tent in a cool and dull spot. But, it is not too warm because of the sunlight.
A pantry rack in the apartment would be vastly improved contrasted with the nursery shed. When you store your tent, guarantee it is full openly to allow the wind to stream and hold a flat smell back from ejecting.
Conclusion
https://www.youtube.com/kdpStWgeOlU/
Folding a tent is a vital ability for all travelers. Going through the twilight out in nature is fun with a gathering of companions. While the experience may not be agreeable and comfortable, the recollections procured are to be loved.
After reading our article, we hope you know how to fold a tent. We accept this article has impelled you to store or roll up tent for your next open-air journey.
Simply on the off chance that you have any inquiries or questions concerning collapsing your tent, we are consistently accessible to help you.