For hundreds of years, warriors and hunters have used the bow arrow. For millennia, this primary yet exquisite weapon has provided meat and assisted in the defense of civilizations. Carbon-fiber arrow shafts mounted to broadheads that are sharp like razors, crossbows, and compound bows are examples of today’s high-tech bows. However, we must not overlook our forefathers’ traditional bow arrows. In a primitive combat scenario, knowing how to make a bow and arrow can give us all a cornucopia of wildlife or protect us from enemies.
Here are a few materials you’ll need to make a bow and arrows if you catch yourself alone in a dangerous rural environment. We’ll provide a few essential topics in this post to assist you in working out how to make a bow and arrow by hand:
- How To Make A Bow
- How To Make Arrows
- How To Make A Bow And Arrow: Q&A
- Summary
Now, let’s jump right into how to make a small bow and arrow for you by hand at home.
How To Make A Bow
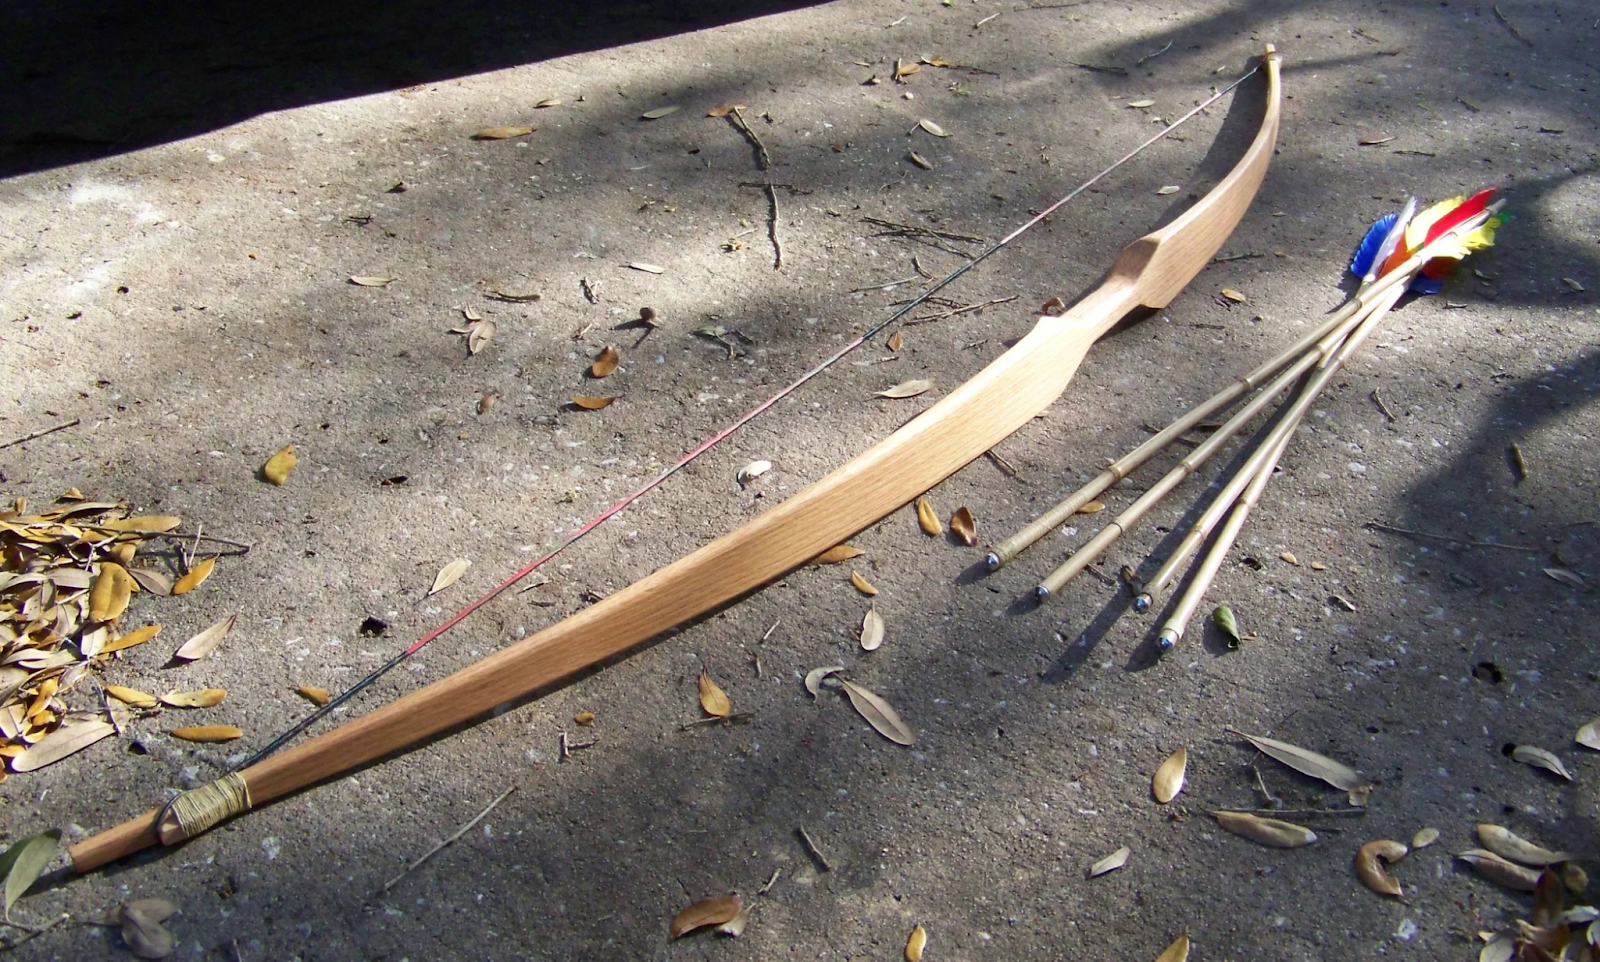
Building a bow is simple; everything you need is persistence and attention to detail. We’d like to show you how to construct a simple bow here.
Select The Correct Materials
When homemade bow, arrows, or other archery equipment, the first step is choosing suitable materials. You’ll need a solid and flexible wood for the bows that will be returned to their original shape after stretching. Choose robust saplings, shoots, and woody coppice growth close to the ultimate diameter you need to make arrows. At home, you may manufacture wonderful bows with sandpaper, cabinet scrapers, rasps, drawknives, along with power tools. However, in the wilderness, a sharp knife is enough.
Choose a bow stick that is dry and dead but not rotting for same-day shooting. For optimal results, chop some live wood, then dry that for a few months before using it to make future bows. For bows, use hardwood species such as hickory, black locust, and Osage orange, even though some other hardwoods also can work.
Use a bow stick with a diameter of about 2 inches that is pretty straight and devoid of twists, side branches, and knots. Chop it to about five or six feet in length. The less the bow will have to stretch to achieve your draw length, which means the longer it is, the less probable it is to crack.
When choosing raw wood for your DIY bow and arrow, there’s a few aspects to keep in mind:
- The wood needs to be devoid of limbs, twists, and knots, and the branch should be thick in the core.
- This plank of wood, like mulberry or juniper, should be pretty flexible. You can also use a cane shaft or bamboo, but make sure it isn’t too thick. You may do this with young bamboo that is both sturdy and flexible.
- If required, greenwood (live wood taken from a sapling or tree) can also be used, but it should be discouraged because it lacks the same force as dried wood.
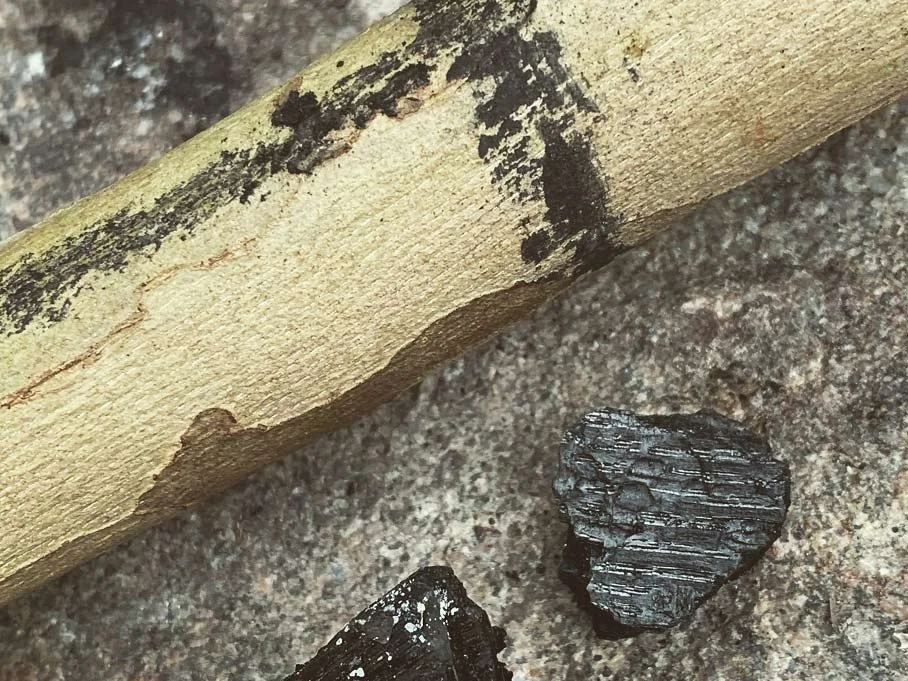
As Markers, Use Charcoal
Both primitive bow and arrow appear to have many pieces for a piece of wood. The bow will contain a belly, a back, a grip, and two limbs (lower and upper), and other parts, though it came from a tree’s “limb.” As a bow maker, the most critical component is understanding the belly and back of flexible wood.
Each branch of sapling will naturally bend in a specific direction. It will dictate where you cut and how your bow is constructed. Bend your potential bow stave into a few different approaches to see how it flexes naturally. For example, we enjoy using charcoal. Mark the inside of your bend with the stick as you understand where to cut. It’s becoming the bow’s belly, or the side that the archer sees (not the side that the bow faces the target).
Create A Bow
Start removing wood using a knife from the limbs’ bellies where they don’t bend much, leaving materials in the limbs’ bendy parts. Remove only the wood from the limbs’ belly sides, leaving the backs undisturbed. At this point in the procedure, the goal is to induce the limbs to bend equally in a circular shape along their whole length. Remove the material slowly and check the limbs’ bend often.
Carving thick staves will take a long time, although small diameter staves might only require little shaping. For a speedier reduction, use basic carving cuts or a knife and tiny baton in conjunction. There should be minimal bend in the limb tips and the center of the bow called the grip area. Refine every limb, so it bends uniformly along its entire length, with every limb bending in the opposite direction. Tillering is the final shaping phase, and it’s one you can’t skip.
Make A Notch For A String
You will need to file or carve several small notches on both sides of every tip to fit the string to your bow, being cautious not to slice into the rear of your bow. These only have to be wide enough to hold a bowstring. Going excessively deep will damage your bow and cause a breakpoint.
Another alternative is to carve at the end of your bow a square tab, which we frequently do. It can be done using a saw, and that’s a reasonably secure location for the string to be looped. For added strength, any notch can be strengthened.
Each bow limb’s ends can be wrapped in thick cordage or coated with a protective sleeve. In the previous, horn tips were commonplace, but string wrapping will suffice in a modern survival situation. Whenever your bow is half-finished, string notches can be made, allowing a string to be used for light bend testing to check which bow’s parts need extra carving. Just be cautious not to draw the string too far back while you’re carving your bow, as doing it can easily break the bow.
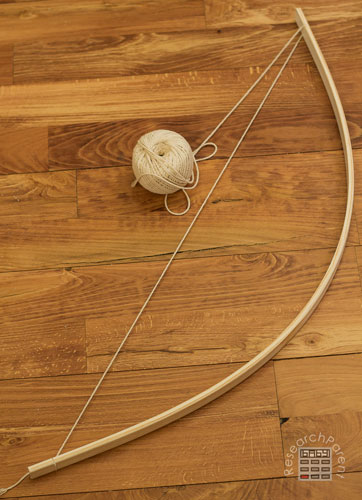
Make A Bowstring Out Of 550 Cord
Because the power lies in the wood and not in the string, the string shouldn’t be elastic. If you’re lost in the woods, finding a good string can be challenging, and you’ll need to test several items before finding one that’s strong enough. The following are some examples of bowstring materials:
- Ordinary twine
- Silk or strands of cotton from caterpillars
- Fishing line
- Hemp cord
- Thin nylon rope
- Rawhide
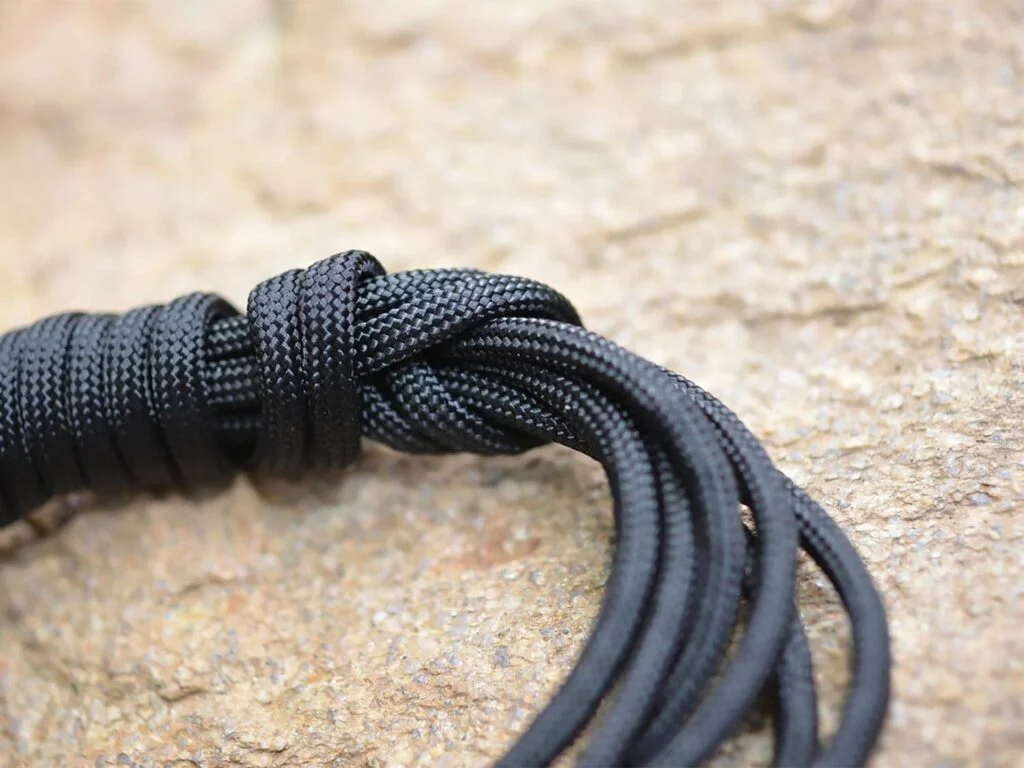
550 cord, like duct tape, can be used to handle a variety of complex tasks. It’s the perfect thickness for a bowstring. It also has one too many stretches right after that, as bowstrings should not extend because it absorbs a few of the power out of each shot. Much of the undesirable stretch can be removed by twisting them.
To build the bowstring, use bowline knots or even a comparable fastener to knot loops through both ends of a 550 cord. The length of the string will be 2 inches less than the length of the bow. When you strung the bow, you’ll have a space of 5 – 6 inches between the handhold and the string.
How To Make Arrows
The arrows are the weapon’s final and most crucial component. However, we still provide you some tips to make arrows by yourself as below:
Make Your Glue
A small dab of glue could go a big step in binding an arrow shaft from an arrowhead. There is a substitute for super glue if you don’t have any or didn’t carry any. Pine sap, or the sticky sap you can find from some needle-bearing trees, may be gathered and boiled to make heat-activated glue, which our forefathers have used for centuries.
All you’ll need is some sap (crusty and dried, or sticky and fresh) and a jar to heat it in (or you can use any old metal – it works great, too). Gather the sap in the jar and liquefy it by cooking it near a fire. While the sap is still boiling, you might insert charcoal powder to enhance volume and function as an aggregation. If the heated pine sap caught on fire, don’t panic. Simply cover the jar, and it’ll be extinguished.
It only takes a couple of minutes to cook, and you can use it right away or let it cool and solidify for later use. You’ll simply need to heat this and spread it to warmed surfaces while it’s still hot. Heat the arrow shaft, the arrowhead, and the pitch, for example. Spread the pitch upon this hot arrowhead and place it in the arrow shaft’s notch. Keep it steady till it hardens and cools (which should just take a few minutes). Work fast and reheat everything that didn’t turn out quite right.
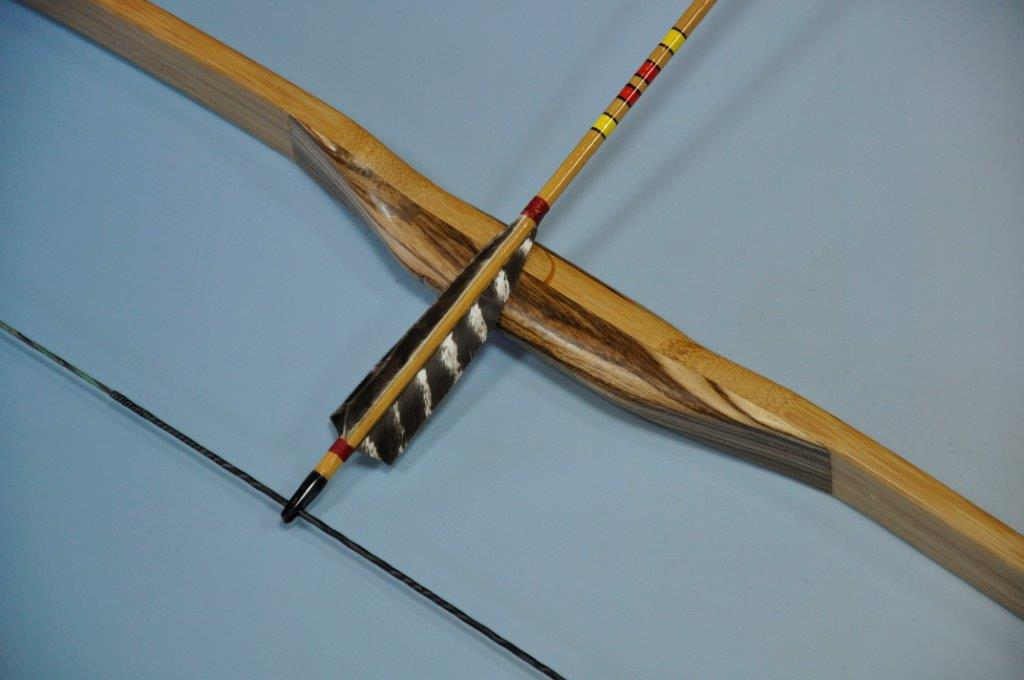
Building Arrows
Begin by gathering some straight saplings or branches, which are not less than 30 inches in length and have a 3/8 to 12 inches diameter. These are finest when dry and dead, such as the bows, but you’ll have to deal with fresh wood in a hurry. Straighten and trim them as much as possible, and cut a notch in each shaft’s end that is the right size.
The end of the arrowhead should tightly match the projectile tip you’ll use, and the nock end must snugly fit your bowstring. The best way to cut these notches is using a saw. Separating the arrow shaft will damage it, so try and avoid it. Attach the feathers and decide which type of point or arrowhead you’ll utilize based on the materials you have on hand.
NOTE: Don’t use homemade wooden arrows on a contemporary compound bow for safety reasons. A compound bow’s tremendous power and speed can lead wooden arrows to virtually explode instead of launching off the bow, leading to significant injury.
Using Duct Tape To Fletch The Arrows
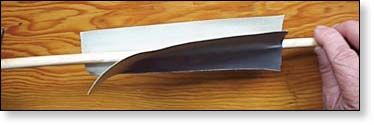
In such a survival situatio, you won’t have always had the right tools for the work. Those that already had duct tape in the toolkit, on the other hand, will get a component that can be utilized for a variety of tasks. Whether you’re fixing an arrow with damaged fletching or creating an arrow fletching entirely out of duct tape, this can be very useful. Just sandwich the shaft end between two parts of duct tape and clip off the surplus to create duct tape feathers.
That was it; you’re finished. Your arrows will not fly the same way if they were fletched with feathers, but they might fly correctly than if they were not fletched at all. Give that a try; you could be amazed at how simple it is to use.
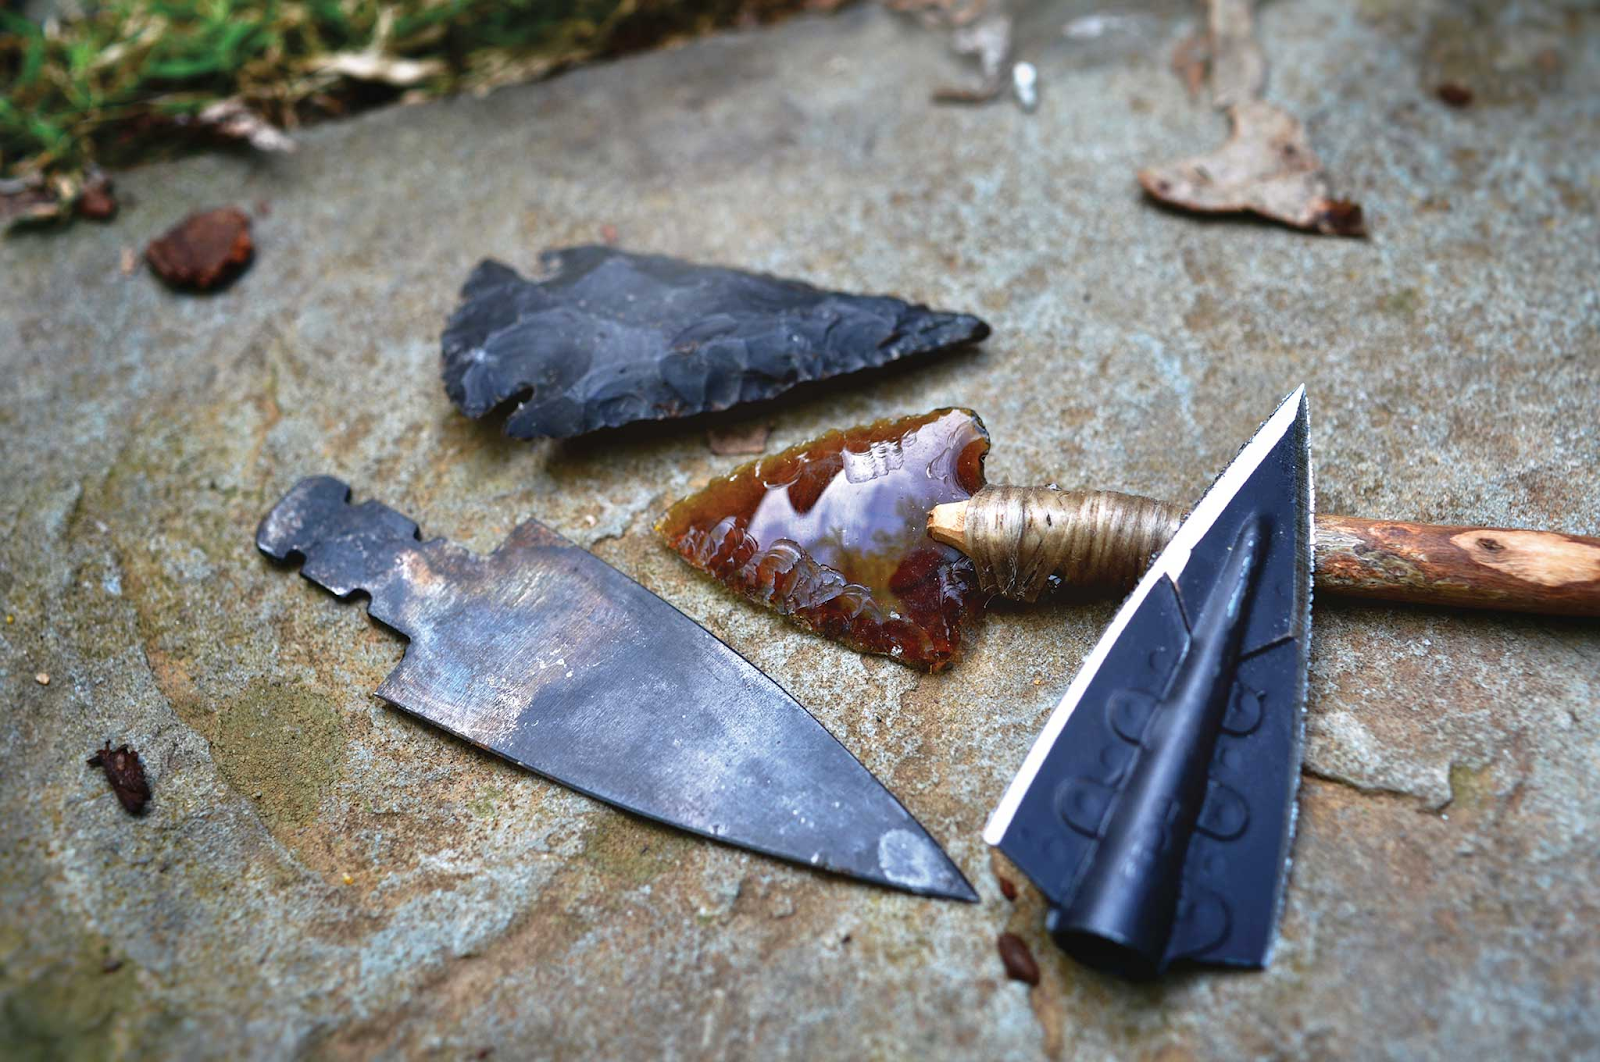
Arrowheads Made From Beer Bottles
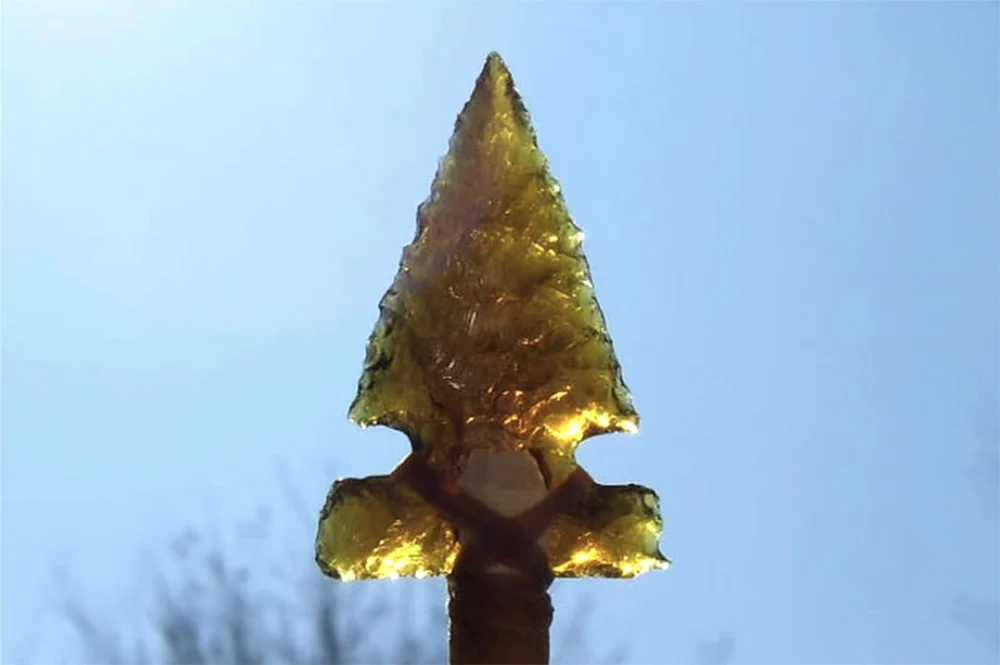
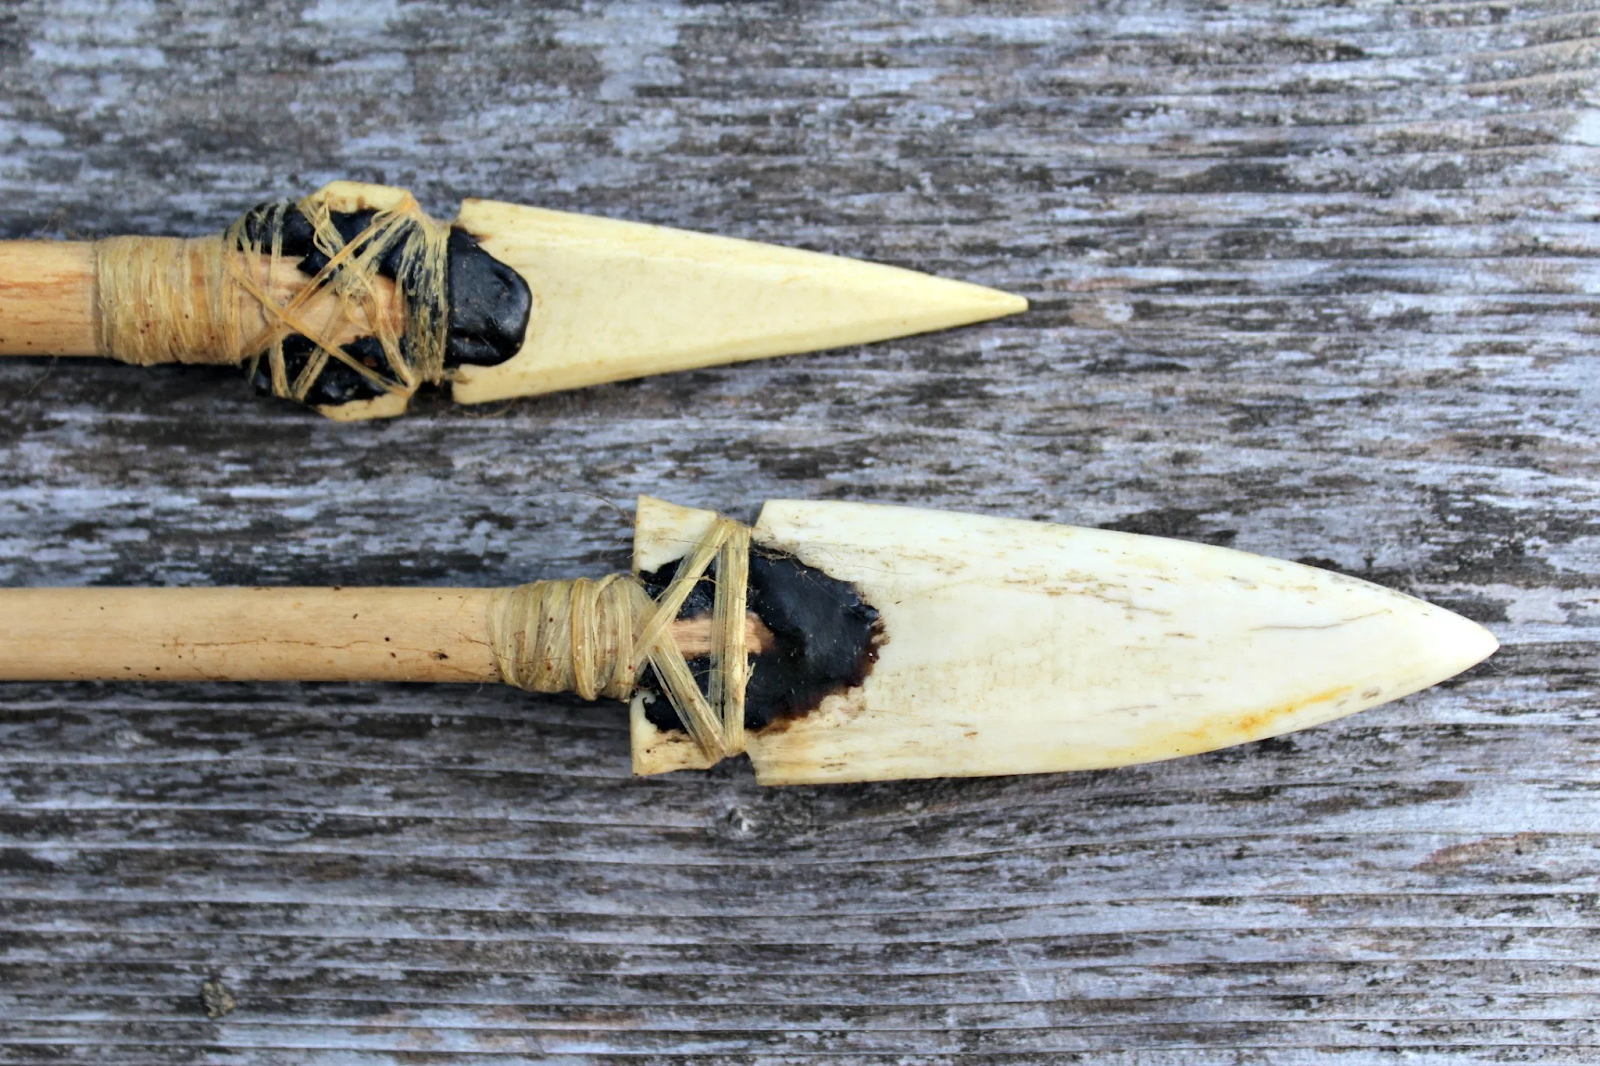
Humans have experimented with various arrowhead designs for thousands of years. We can utilize multiple instances as samples or inspiration, ranging from precisely antler tips and carved bone to intricately flaked stone points. Basic arrowheads can now be carved from thin metal, cut from stone or glass, or a field point carved on the shafts. Consider reiterating a point you’ve made. After applying glue to your notch, attach the arrowhead.
Add strength to the arrowhead and shaft, wrap dogbane fiber, dried sinew segments, floss, or string around them. You could also use more glue to seal the wrappings, so both the binding and the arrowhead are in place.
How To Make A Bow And Arrow: Q&A
Is The String Required To Be A Certain Length
When attached to the bottom, it should be about 20cm (4 inches) from the top. It keeps the string and bows taut this way.
Why Is This So Crucial To Avoid A Slack Bow
Because that suggests there isn’t much resistance, and an efficient shot necessitates some resistance.
Is There Anything I Should Use Instead Of A Knife
The tool needs to be typically sharp enough, but the perfect piece might be razor-sharp. Make a handle out of the dull side, then scratch the wood using the sharp end.
Can you provide some further samples of wood types that can be used?
Black walnut, yew, black locust, poplar, cedar, ipe, Osage, hickory, bamboo, and red oak are some of the trees found in the area. All of these perform well for constructing bows, but ultimately it boils down to personal preference.
Summary
https://www.youtube.com/watch?v=sHwM7h6Yalg
Your bow and arrows are now entirely ready to use. Of course, if you know of any other techniques to create a bow and arrow that you’ve heard about or tried, please let us know in the comments area below! Thank you for taking the time to read this tip on how to make a bow and arrow by hand. Have a wonderful day!
Your perfectly optimized content goes here!